Top.Mail.Ru
Why you need your own mask on Instagram and how to make it yourself — Postmypost
Why you need your own mask on Instagram and how to make it yourself

Why you need your own mask on Instagram and how to make it yourself

13.04.2022

Read 10 min.
Education
Nikiforov Aleksandr

Augmented reality filters, or simply masks, have become a real trend on Instagram. Brands, celebrities, and regular users create their own masks. In this article, we explain how a mask can help promote an Instagram account and provide a detailed guide on creating one.

How masks are useful for business

1. Attracting new subscribers

Instagram Stories are currently at the peak of popularity. Fun effects attract users' attention; masks go viral and spread across the web. People take selfies with them, share them with friends who also become interested and want to create stories with the new mask. This way, more and more users become aware of you, increasing interactions with the account and the number of subscribers.

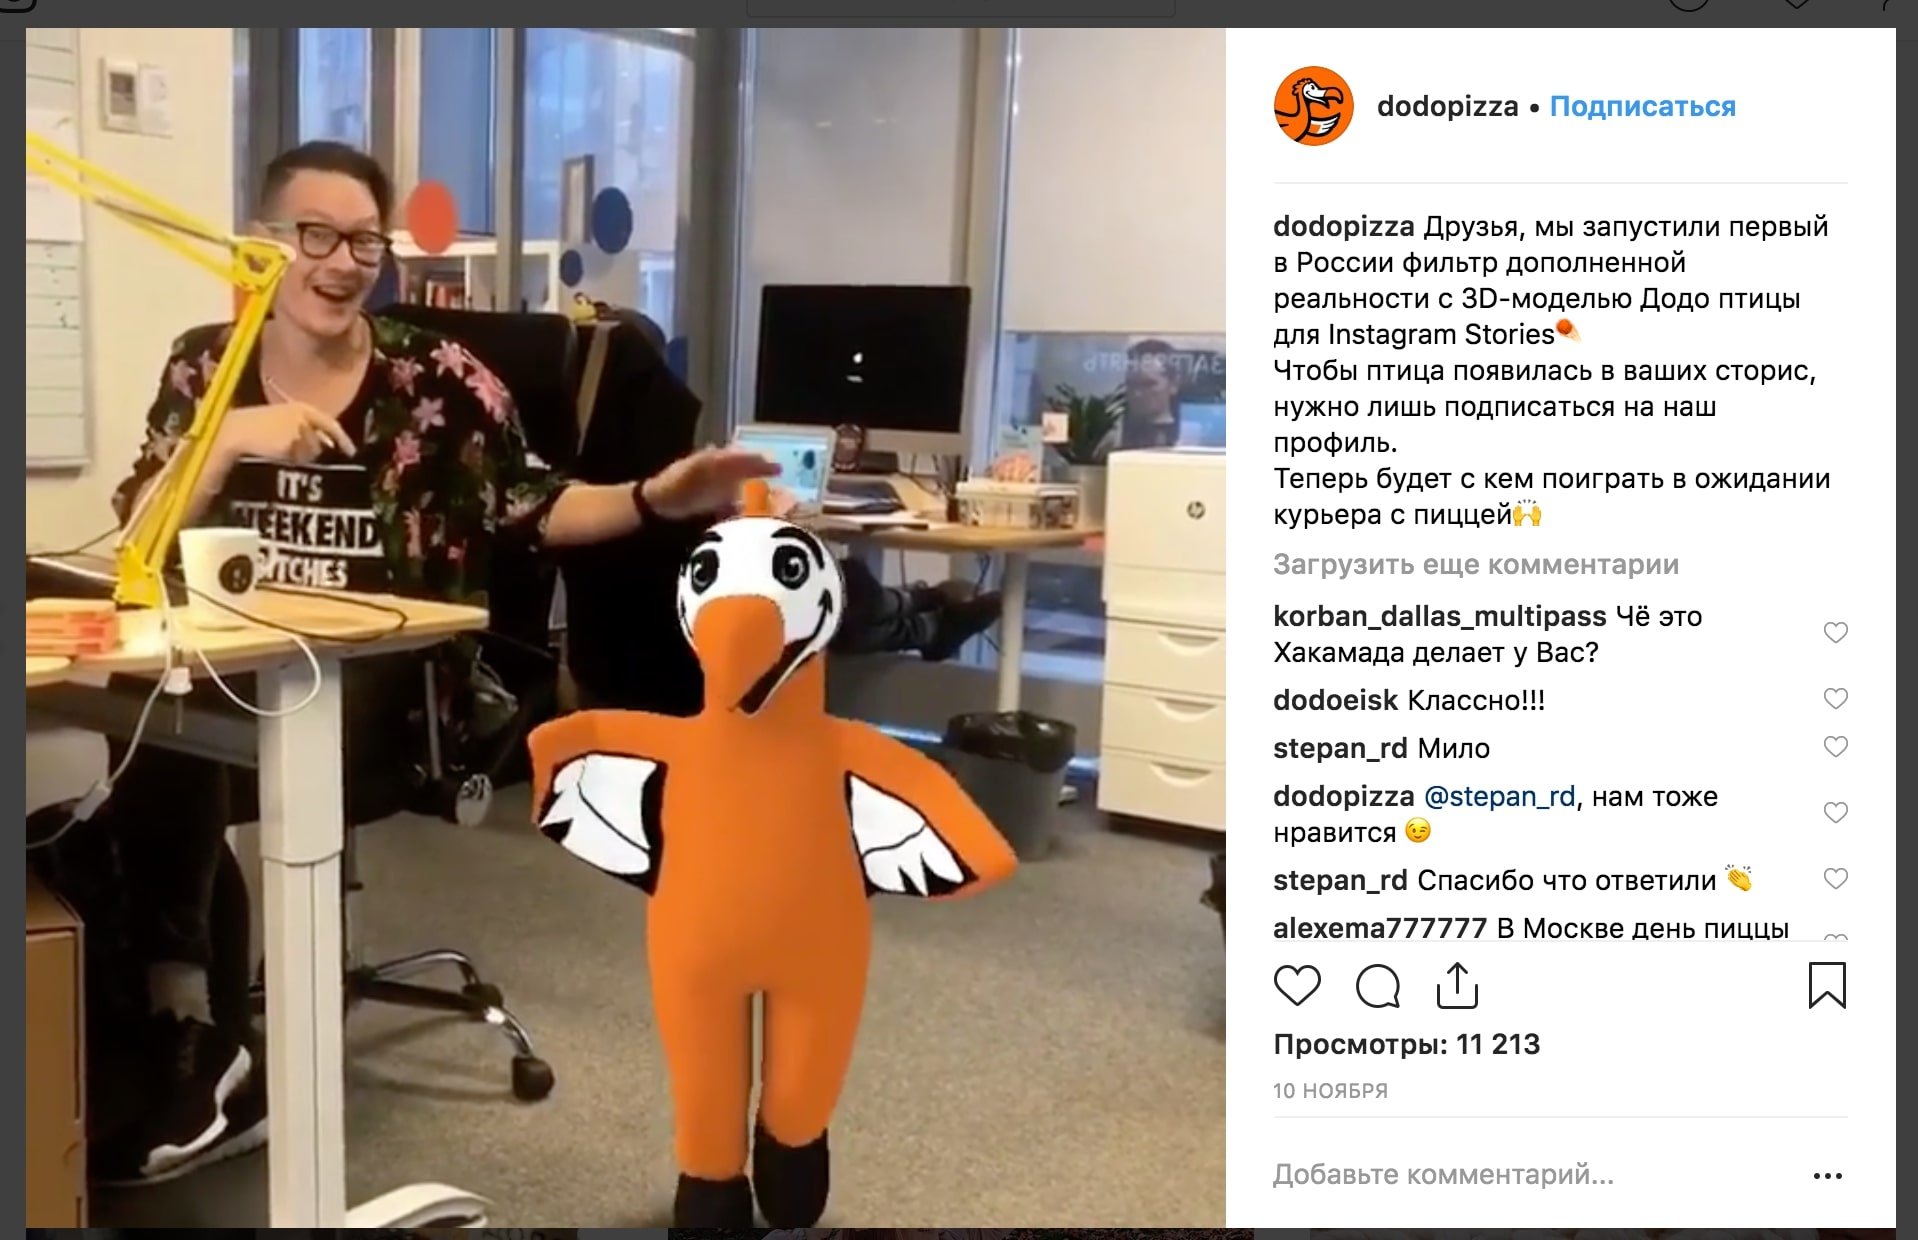
For example, in the winter of 2018, "Dodo Pizza" created an unusual AR filter — a dancing Dodo bird. This brought the pizzeria's account 8,000 new subscribers in 2 weeks!

![AR filter from "Dodo Pizza"](https://postmypost.io/ru/blog/storage/postmypost/pochemu_nuzhna_svoya_maska_v_instagram/1.jpg)
@dodopizza
### 2. Opportunity to try the product

As the saying goes, it's better to see once than hear a hundred times. Kylie Jenner used this principle by creating a mask for Kylie Cosmetics, which allows users to try different shades of lipstick. The ability to apply lipstick in virtual mode helps subscribers choose a color and make a purchase.

Many brands of clothing, glasses, and jewelry create masks for Instagram that allow users to try on items. Subscribers welcome such innovations enthusiastically!

3. Increasing brand awareness

The Russian cuisine restaurant "Teremok," specializing in pancakes with various toppings, developed a creative mask. Users were invited to try on their favorite pancakes from the restaurant's menu on their faces. Subscribers enthusiastically embraced the idea, leaving a lot of positive emotions.

![](https://postmypost.io/ru/blog/storage/postmypost/pochemu_nuzhna_svoya_maska_v_instagram/2.jpg)
@teremok_ru
![](https://postmypost.io/ru/blog/storage/postmypost/pochemu_nuzhna_svoya_maska_v_instagram/3.jpg)
@teremok_ru
![](https://postmypost.io/ru/blog/storage/postmypost/pochemu_nuzhna_svoya_maska_v_instagram/4.jpg)
@teremok_ru
### 4. Free advertising

A mask is a great way to promote your product or service. The brand name will be indicated in the story of each user, presenting the mask developer. If you created the mask yourself, this is free advertising for you. Even if you had to pay a designer for its development, it's a one-time expense, providing long-term benefits of increased subscribers and clients.

5. Event promotion

The magazine Glamour decided to celebrate its 15th anniversary with a festive mask GlamQueen featuring a muffin and branded crown. This helped the event receive many mentions in top media. Now the magazine's account has a whole collection of masks.

![](https://postmypost.io/ru/blog/storage/postmypost/pochemu_nuzhna_svoya_maska_v_instagram/5.jpg)
@glamur_russia
![](https://postmypost.io/ru/blog/storage/postmypost/pochemu_nuzhna_svoya_maska_v_instagram/6.jpg)
@glamur_russia
![](https://postmypost.io/ru/blog/storage/postmypost/pochemu_nuzhna_svoya_maska_v_instagram/7.jpg)
@glamur_russia
### 6. Active promotion through bloggers

Advertising with popular bloggers provides a great effect. And when it's not just a boring post, but a bright mask in the story of a favorite, it has every chance to go viral.

It's great if you can make a barter arrangement with the blogger. Exchanging brand products for mask advertising is a two-pronged approach: attracting subscribers both with the mask and your product if the blogger gives positive feedback and users appreciate the product.

Mask creation guide in Windows 10

1. Download and get acquainted with the mask creation program

Masks are created in a special program Spark AR Studio. Previously, it was only available for Mac OS devices, but now also for Windows 10 (unfortunately, the program cannot be installed on other versions of Windows).

Download the program from the link above, install it on the computer, and open it.

![Screenshot of Spark AR Studio program](https://postmypost.io/ru/blog/storage/postmypost/pochemu_nuzhna_svoya_maska_v_instagram/8.jpg)
Main screen of Spark AR Studio: all characters are animated and move when hovering over
The interface of the program is simple and easy to understand even for beginners. Click New project and enter the workspace where an emotional model guy is ready to try on the mask.
![Screenshot of Spark AR Studio program](https://postmypost.io/ru/blog/storage/postmypost/pochemu_nuzhna_svoya_maska_v_instagram/9.jpg)
Workspace of Spark AR Studio
Incidentally, models can be changed to see how the mask will look on different face types. To do this, click the camera icon in the upper left corner and select the desired character.
![Screenshot of Spark AR Studio program](https://postmypost.io/ru/blog/storage/postmypost/pochemu_nuzhna_svoya_maska_v_instagram/10.jpg)
To change the face, click the camera
We have four main work areas:
  1. Scene — manipulation area; masks are added here.

  2. Assets — area with materials, textures, and imported objects.

  3. View window — central screen area where objects are controlled and resized using arrows; here is also the "simulator" that shows how your mask will look on a mobile device.

  4. Inspector — the right panel where objects are modified.

![Screenshot of Spark AR Studio program](https://postmypost.io/ru/blog/storage/postmypost/pochemu_nuzhna_svoya_maska_v_instagram/11.jpg)
Main work areas of Spark AR Studio
### 2. Install Photoshop and download materials

If you have Photoshop on your computer, it's simpler. You'll just need to download the face layout template on which you'll apply the mask. You can do this here.

![Screenshot of Spark AR Studio program](https://postmypost.io/ru/blog/storage/postmypost/pochemu_nuzhna_svoya_maska_v_instagram/12.jpg)
Download link for additional materials
We obtained the face layout template on which we'll apply the mask — faceFeminine file. It should be opened in Photoshop, and then overlay the tracker grid — faceMeshTrackers file.

Next, we'll create the texture, i.e., our mask. These two files will help understand the best way to draw and place the intended object.

![Screenshot of Photoshop program](https://postmypost.io/ru/blog/storage/postmypost/pochemu_nuzhna_svoya_maska_v_instagram/13.jpg)
Base for creating a mask in Photoshop
### 3. Create a base for the mask

In this area, the main thing is your imagination. You can choose any inscription or image, like a brand name or logo, and place it on the chosen face area. We'll play around with this alien.

![Image for mask](https://postmypost.io/ru/blog/storage/postmypost/pochemu_nuzhna_svoya_maska_v_instagram/14.jpg)
Image for mask
Create an additional layer, place the alien on it, and align the image so it is neatly positioned on the cheek.
![Screenshot of Photoshop program](https://postmypost.io/ru/blog/storage/postmypost/pochemu_nuzhna_svoya_maska_v_instagram/16.jpg)
Choose the location
Once the location is decided, disable the tracker layers and save the texture file in png format.

Disabling background layers is very important, don't forget to do it!

![Screenshot of Spark AR Studio program](https://postmypost.io/ru/blog/storage/postmypost/pochemu_nuzhna_svoya_maska_v_instagram/16.jpg)
Completed texture for mask
### 4. Working with the mask in Spark AR Studio

Return to the Spark AR Studio application and create a new project: right-click in the Scene area, click Add, then FaceTracker.

We get FaceTracker0. Right-click on it, then Add again and select FaceMesh. We have a base where textures can be placed.

![Screenshot of Spark AR Studio program](https://postmypost.io/ru/blog/storage/postmypost/pochemu_nuzhna_svoya_maska_v_instagram/17.jpg)
Base looks like a black-and-white checkered mask
Now it's time to add work materials. Go to the Assets zone, click + Add Assets, and select Material. Move your gaze to the right panel with controls, next to Texture click Choose File. Add the file we made in Photoshop.

But that's not all. On the left, click FaceMesh0, then on the right panel on "+", on the Materials tab — select material0. And voila! Our alien appears on the model's face.

![Screenshot of Spark AR Studio program](https://postmypost.io/ru/blog/storage/postmypost/pochemu_nuzhna_svoya_maska_v_instagram/18.jpg)
Mask on the model's face
You can zoom in and view the mask on different models to make sure it fits any face perfectly.
![Screenshot of Spark AR Studio program](https://postmypost.io/ru/blog/storage/postmypost/pochemu_nuzhna_svoya_maska_v_instagram/19.jpg)
Enlarged image
If desired, you can also retouch the face to make the skin look smooth and attractive.

We go the same way FaceTrecker0 → Add → FaceMesh and add another material through + Add Assets. Then on the right panel, in the first line, Shader Type, open the drop-down list and select the last item — Retouching.

![Screenshot of Spark AR Studio program](https://postmypost.io/ru/blog/storage/postmypost/pochemu_nuzhna_svoya_maska_v_instagram/21.jpg)
Choosing retouching mode
You can choose how blurred the face will be. It's better not to overdo it; just slide to the 25–30 level, otherwise, the face will be smeared and look unnatural. And another point — uncheck the FullScreen box, otherwise, the surrounding space will also be blurred.

5. Testing the mask

When the work is completed, the mask can be tested on a smartphone. To do this, click the phone icon with an arrow in the lower left corner. A window appears where you need to select Send to App and click Send next to Instagram Camera.

![Screenshot of Spark AR Studio program](https://postmypost.io/ru/blog/storage/postmypost/pochemu_nuzhna_svoya_maska_v_instagram/20.jpg)
Preparing for a smartphone test
In a few seconds, a link will be generated; you need to copy the address and navigate from the smartphone (drop the link from the computer to any messenger available on the smartphone). The link will open a test story mode in Instagram, where you can admire the alien on your ideally smooth cheek.

6. Saving, exporting, and uploading the mask

To save the mask on the computer, open File on the top panel and click Export and Upload. The file size with the mask should not exceed 40 MB. In the window that appears, this parameter will be checked, if everything is OK, a green circle with a checkmark will appear. Click Export File, give the file a name, in our case, let it be alien_mask, and click "Save." The file will be saved with the.arexport extension.

Then in this window, click Upload and wait for 100% load. The browser will automatically open Spark AR Hub — the service for publishing the effect.

![Screenshot of Spark AR Studio program](https://postmypost.io/ru/blog/storage/postmypost/pochemu_nuzhna_svoya_maska_v_instagram/22.jpg)
Publishing the effect in Spark AR Hub
Here you need to select Instagram, and a smartphone simulation with our account will immediately appear on the side. Then give the mask a name, choose a category from the suggested list, and add up to 20 keywords for users to find the mask.

The owner’s name and Instagram account will be automatically filled. Below it will be suggested to take or upload a demo video and a mask icon (cover), which can be made in Photoshop according to this instruction.

It remains only to choose visibility settings: as soon as possible or on a specific date and time. Mark whether the effect is used to promote a brand or product and familiarize yourself with the legal agreement.

When everything is done, click "Send". Approval of masks usually occurs without problems; the process can take up to 10 business days, but most often it does not last more than a day.

How much does a mask cost

A simple mask can easily be made by an SMM specialist. Adding a logo to a cheek, as we did with the alien, will take no more than 15 minutes. But if you want an animated or variable mask, something with gamification or another wow effect, you can contact a designer or a specialized agency.

The cost of the service, of course, depends on the complexity of development. A simple mask will cost 500 rubles, a gamified one may cost 20,000 rubles or more. The average price for a mask of medium complexity is 5,000 rubles.

Try to create a mask following the tutorial in our article. Perhaps the process will captivate you, and you can effectively use masks in your business without spending a dime.


Related articles

All posts
Let's accelerate the validation and collection of reports: workflow in Postmypost

Let's accelerate the validation and collection of reports: workflow in Postmypost

27.11.2025

Read 6 min.
Education

In working with the client, the most time is not spent on creating content, but on organizing the process. It is unclear who should check what, which...

Nikiforov Aleksandr
Accelerating the approval and collection of reports: workflows in Postmypost

Accelerating the approval and collection of reports: workflows in Postmypost

27.11.2025

Read 6 min.
Education

In working with clients, the most time is spent not on creating content, but on organizing the process. It's unclear who should check what, which post...

Nikiforov Aleksandr
How agencies can manage 10 and more clients and not get confused with tasks

How agencies can manage 10 and more clients and not get confused with tasks

07.11.2025

Read 3 min.
Education

Working in an SMM agency is like juggling: dozens of clients, hundreds of posts, thousands of messages from subscribers and colleagues. While one clie...

Nikiforov Aleksandr
Hundreds of comments a day: how to distribute and control response speed

Hundreds of comments a day: how to distribute and control response speed

16.10.2025

Read 4 min.
Education

Sometimes social media resembles a hotline during rush hour. New comments, questions, thank-yous, and sometimes complaints. One specialist simply can’...

Nikiforov Aleksandr
How to answer customer questions around the clock without increasing staff

How to answer customer questions around the clock without increasing staff

09.10.2025

Read 4 min.
Education

Clients expect the company to be available at all times: in the morning, evening, and even late at night. However, most teams simply do not have the r...

Nikiforov Aleksandr
24/7 in touch: how to set up automatic responses through AI in comments and messages?

24/7 in touch: how to set up automatic responses through AI in comments and messages?

20.06.2025

Read 7 min.
Education

Friends, a new tool has appeared in our service — workflow automation! This is a completely new level of working in social media. Now you can set up...

Nikiforov Aleksandr
All posts